ACK! You see the dreaded email in your inbox. Lice! Could it be your kid? Her BFF? Someone else? Let’s face it, who cares, you just don’t want it. But, if you do, I’ve got help for you there, too. Don’t panic!!!
First things first, let’s play keep away with those Lice and hope they don’t ever bless your child’s precious locks. During an infestation in a classroom, you’ll want to keep your child’s long hair up or in a braid (preferably). If it’s short, just pray, and…SPRAY!
Before we get started, a note about quality…I can really only stand behind the efficacy of Young Living Essential Oils for quality and purity reasons. The essential oil industry is unregulated and riddled with fraud. Never buy oils on Amazon! To order Young Living Oils, please go through a distributor, like me! You are not only getting the best oils, but you are supporting a fellow mama friend. Learn more about getting started here.
DIY Lice Keep-Away Spray (2 oz Spray Bottle)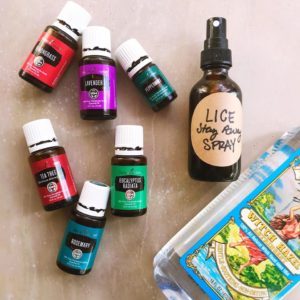
Spray scalp and hair daily before school.
2 TBSPs Witch Hazel
10 drops Tea Tree YL Essential Oil
10 drops Lavender YL Essential Oil
5 drops Rosemary YL Essential Oil
5 drops Eucalyptus YL Essential Oil
5 drops Lemongrass YL Essential Oil
1-2 drops Peppermint YL Essential Oil
Fill with Water
*Optional: add a couple squirts Lavender Mint Conditioner for detangling
This is a strong recipe, but I’ve been through and survived a lice infestation, so I’m not taking chances. Feel free to adjust drops to your preference.
Now, what to do if your kiddo starts scratching their head, like, A LOT! Never fear! Read my write-up on San Diego Moms Blog for my story and tips you NEED to know, and follow these steps.
STEP 1: Mix! Mix up the Enzymatic Treatment Spray. Enzymes are essential to break down the glue that attaches the nit (egg) to the hair shaft, they also digest the actual nits, juvenile and adult lice. The enzymes combined with insecticidal essential oils makes for an extremely effective treatment spray.
Enzymatic Lice Treatment Spray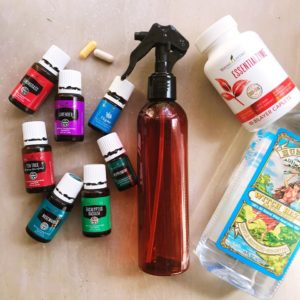
In an 8-10 oz spray bottle, add the following:
1/4 cup witch hazelEmpty 2 capsules of Essentialzyme-4 (one of each type)
20 drops Tea Tree YL Essential Oil
10 drops Eucalyptus YL Essential Oil
10 drops Lemongrass YL Essential Oil
10 drops Rosemary YL Essential Oil
5 drops Peppermint YL Essential Oil
5 drops Thyme YL Essential Oil
Fill with Water
*Optional: I like to add about 2 TBSP of Young Living Lavender Mint Conditioner to help with detangling during combing, you can also keep some of the conditioner nearby for this purpose.
STEP 2: Treat and Comb! Spray entire head, saturating the scalp with Treatment Spray. Comb through to detangle, then secure hair on top of head. Get a small bowl of warm, lightly soapy water – this is is to dip the nit comb in as you go. You’ll also want a white towel to wipe the comb on.
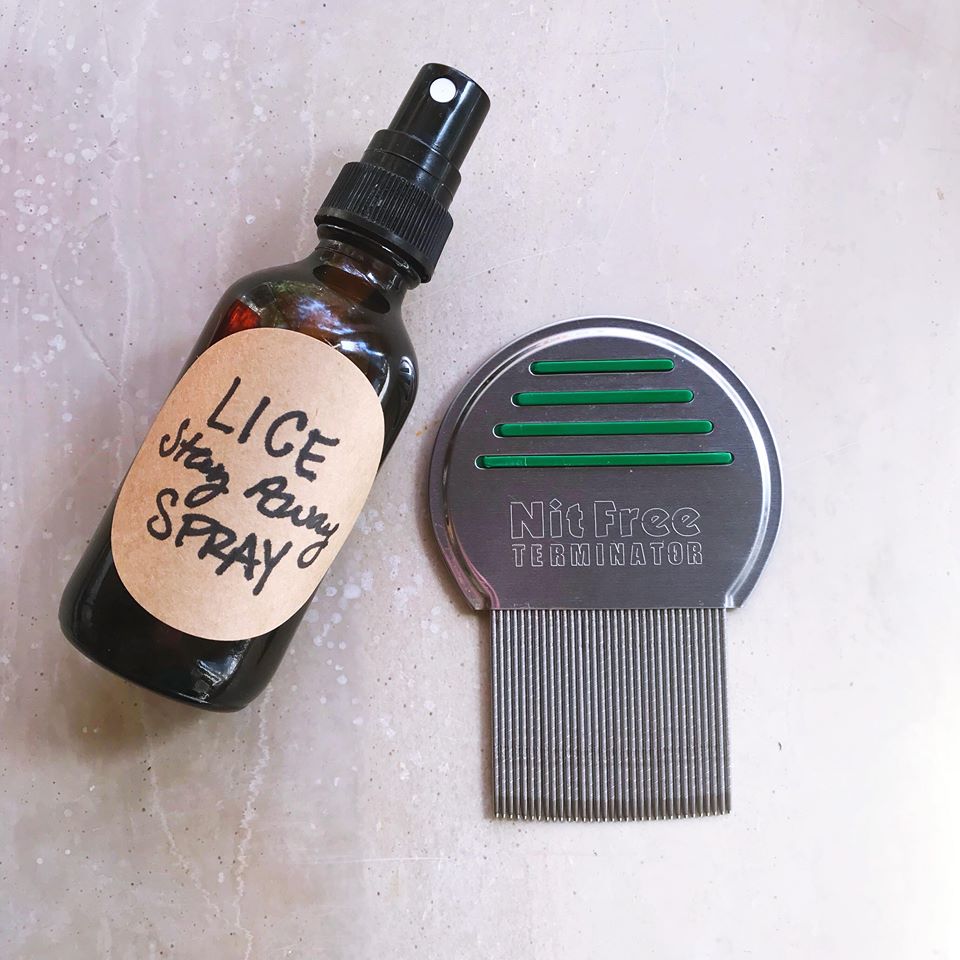
Now you will begin the removal process. Make sure you have the right comb (ONE LIKE THIS!), as it makes allll the difference. Do not waste your time with anything else. You’ll want to work from the bottom / base of the head to the top, working in very small sections as you go. Take your regular comb and separate your first section all along the base of the hair / head. You’ll want to comb this section with the nit comb in four ways – up, down, left, right – making sure to graze the scalp when you start combing, and pull all the way through to the end. Every few combs, dip your comb in the water and wipe it on the towel. You will start to see all the fun things you are removing! (Nits and any juvenile or adult lice) As you “clear” a section, separate it out, twist it and clip it.
Keep going and keep combing. Up, down, left, right. Up, down, left, right. This is tedious, but a crucial part of the process!! Take your time and be meticulous. Go over sections again if you feel it needs it. As I worked through a few sections that were cleared, I liked to take the nit comb over multiple sections together again, from the scalp to the tip, making sure I was super thorough, before I twisted and clipped them aside.
You are working your way to the top, where the adults like to gather. In general, they like to lay nits (eggs) near the base and ears, feed at the base, and gather towards the top. Ewww! TMI! Ha ha. Anywho, when you get to the to, make sure you are really grazing the scalp well, then pull all the way through. Dipping and rinsing your comb as you go.
STEP 3: Spray and Let Sit! Once you are satisfied with your combing, saturate the entire head, scalp and hair, with the Lice Stay-Away Spray in the first recipe above. Secure hair on top of head and put a shower cap or plastic bag over. This is just a final shock to the lice environment. The plastic enclosure ensures the vapors of the oils saturate the area really well, making it a place the lice will NOT want to stay. Now you can let your kids relax and watch a movie. Keep the spray on for at least 30 minutes.
STEP 4: Wash and Dry! You are almost done! Wash their hair and dry it completely with a hair dryer. After it’s dry, you can go out in the sunlight and do a check to see if you can find any stray nits you may have missed. Chances are they are dead by now, but you can pull them off with your nails or the nit comb if you happen on any. Lightly mist scalp and hair with Stay-Away Spray and braid.
This should be all you need, but you will want to check daily for the next week or two. Also, keep up on the Lice Stay-Away Spray daily before school and keep hair braided until you are two weeks clear, at least! It’s a good idea to get in the habit of using this spray year round “just in case” – prevention is always better than dealing with an infestation. Plus, it smells amazing!!!